Showing posts with label scraps. Show all posts

Monday, May 6, 2013

scrap pile 64 patch - a tutorial

These blocks are what I'd like my fellow STS! bee mates to whip up for me this month, as it's my turn to be queen bee. They're a variation on Steffani's St. Louis sixteen patch, basically just shrunken down and quadrupled.
scrap pile 64 patches
This block finishes at 12" (12.5" unfinished) and uses small strips which I managed to find in my scrap pile. Hence the name, since I wasn't sure what else to call it. Does it have a real name? Let me know if you're aware of one. I thought I'd share how to make them.
pick four sets of contrasting prints
You need 16 strips, each measuring 2"x8.5" for this block, in contrasting values for the pattern to really pop. I used four different low volume prints and four different high value prints that "read" a specific color. Essentially we're constructing four 16 patches and then piecing those units into a 4 patch.   
sew four strip sets
Sew your strips into four sets, as shown above. You'll want to use a scant 1/4" seam since there are a lot of seams in this block and a few threads difference really adds up. Make sure and set your seams as well, for the same reason. I also happen to find setting my seams makes pressing them easier and faster
set the seams
For the strip sets, press seams to the dark side. This will make things easier down the road, as your seams will "lock" and allow for perfect points without the use of pins. I didn't use a single pin while piecing these blocks, which makes me quite a happy camper.
press to the dark side
Now take your strip sets to the cutting mat and stack them up on top of each other, using the seams to help nestle them together perfectly. You could always do one at a time, but when doing a whole bunch of these I can go much faster going two or four at a time.
square it up

There's an extra 1/2" of wiggle room built in, so go ahead and square up the one side before you proceed. I like to line up my ruler with the top and bottom edges first, then check to see if the center seam lines up squarely, too. If my piecing and pressing were accurate, and the seams nestled nicely when I stacked the sets, it usually turns out pretty square. If not, I fudge a little and make it work!

subcut, rotate, pair right sides facing
Subcut every 2" and then rotate every other strip and pair them right sides together. I chain piece all the pairs before pairing those pairs...This next part is important! Sew all your pairs together the same way, as in feed them into the machine with the light square on top every. single. time. If you mix up and do it both ways, you'll end up with two sections that won't go together right. 
feed with light fabric starting on top
I did all of mine this way just to be consistent, this will make seams lock the right way later. That little metal thing to the right of my presser foot is a 1/4" guide. It's magnetic and sticks strongly to the needle plate. I bought it a long time ago and only just started using it with all the strip piecing I've been doing lately. I think it helps.
press seams all to one side
Remember to set your seams again, and this time press them all to one side. After that, pair up both sets of 16 patches and rotate until the seams lock when right sides are facing. Sew them together and press that center seam the same direction as the other seams of that unit. Almost done! Sew the one remaining seam and press it whatever direction you want.

Hopefully after all those seams your block comes out at 12.5" or just a smidge under. Mine are a hair smaller, but I figure if all my blocks come back somewhere between 12.25" and 12.5" I should be able to force them all together just fine. Don't worry about slightly wonky edges, I wouldn't bother squaring up your blocks unless they're really heinously uneven. 

Even though these were pretty random pulls from my scrap pile, I think the color palette turned out pretty neat. Like a cheeseburger near the beach or something. Or am I crazy? 

Anyways, hope that didn't bore you! Let me know in the comments if something is totally wrong or ridiculous, I've never posted a real tutorial here before... it's my first time so go easy on me!!

Thursday, November 8, 2012

pouch, pincushion and scrap swap - sent!

Hey there, look what I made! Kris of Duke Says Sew What and I decided to do a little pouch, pincushion and scrap swap and here's what I came up with.


For the pincushion I made another teeny tiny granny square, although this one is teenier still, those little squares measuring in at a half inch each and the overall cushion at 2.75 inches. Oh how I love tiny things! I've got one in the works for Nicole of Bold Goods (See? I haven't forgotten!) too, just as soon as I can stuff it and stitch it closed.


In my last post, I mentioned wanting to try raw-edge appliqué on my Hoop-la-la swap project. Having never done it before, I decided to Kris's pouch as a guinea pig, trying two different methods just to see what would happen.


I used geometric print quilting cottons and yellow duck cloth for both, but the one with the diagonal lines felt right to me at the time and was bigger, so I went forward with that one. Although I do plan on playing with the second version after I get my Hoop-la-la project done... which needs to happen tonight because the deadline for sendoff is tomorrow... eek!


I used cotton batting and washed and dried before construction so it would have that crinkled look. The dense, straight line quilting and frayed edges ended up creating a pretty nifty texture, I thought. You can't really get the full effect from these photos, which are a wee bit over-saturated. At any rate, I stuffed it with scraps from my bin, that black and white dot print in the first photo is what I used to line the thing, although I didn't seem to get any pictures of that before I mailed it off. Whoops!

Would it be fun if I started a Pouch, Pincushion and Scrap Swap group on Flickr? Would anyone be interested in joining in on such a thing? Maybe around ten-ish people, secret partners, rules and deadlines, etc. Small scale, nothing insanely complicated or time consuming. Could be fun I think. Let me know! EDIT: hitting the pause button on this until after the holidays, we all have way too much on our plates until then!

*I'm linking this post up with Amanda over at Crazy Mom Quilts for Finish it up Friday! I finished my Hoop-la-la project today but won't be able to blog about it (crazy busy weekend ahead!) so while I would have liked to link that, I'll link this instead!*

Sent from my iPhone

Wednesday, October 31, 2012

bear paws + spooky treats + jack-o-lanterns

Happy Halloween! But first things first, here are my last pair of bee blocks for the Far Flung Bee. Bear paws for Essie.


She has a great tutorial for them on her blog and asked for autumn colors on neutral backgrounds, suggesting the scrappier the better.


My scrap bin has grown a lot recently and includes fabrics left over from my own projects, as well as scraps I received from swaps with quilty pals and purchased from various brick and mortar and online quilt shops.


It was fun being able to pull exclusively from my scrap bin and these blocks were a blast to make. I'll probably do a wrap-up post for the bee once I've received all my blocks. It takes a minute for things to travel from Australia, hence the name Far Flung Bee!


Now back to Halloween, have you seen the sale section over at fat quarter shop?! They've got tons of Halloween prints 50% off and I just couldn't resist. I don't usually do novelty prints but I love a good deal and now's the time!


I picked up this fat quarter bundle and a few other basic blender prints from Halloween lines that aren't Halloween specific and can be used in other projects too. I think it's safe to say I'll be making a spooky quilt for next year :D


And here's a look at our jack-o-lanterns, mine is on the right, Jon's is on the left. Don't they look so happy together?! He had hoped his would look more menacing but it just can't help looking smitten.

I've got candy lined up for the trick-or-treaters and a race horse costume ready for the dog. Can't wait!
What are your plans?


Sent from my iPhone

Monday, April 2, 2012

itty bitty grannies - a mini quilt

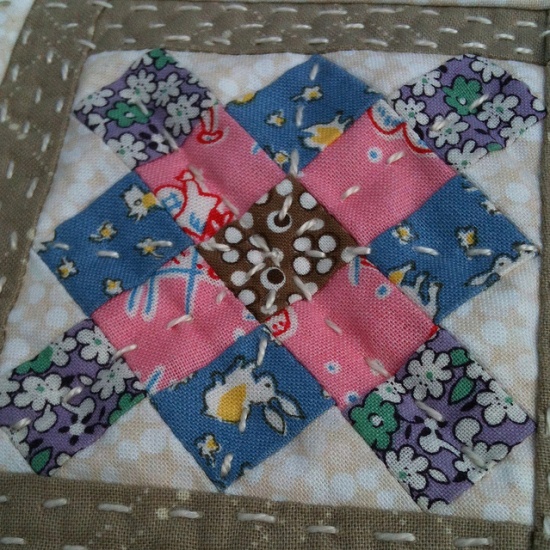
I'd been doing very well at resisting the urge to join in on all the granny square hoopla, started by Jolene (Blue Elephant Stitches). Find her awesome tutorial here. I loved everything about this block but knew I shouldn't start a new project when I have so many going already. Then Katy (Monkey Do) offered up an alternative strip piecing tutorial and I caved.


I wanted to do something quick and easy, just to get granny-squaring out of my system, so I pulled out some scraps left over from my 1930s quilt and pieced some itty bitty 3.5 inch blocks. I decided four was enough for me and made a little mini quilt, just for fun. It begged to be hand-quilted, so I gave that a go. This mini finished at about 8 inches square.


Nothing about this thing is perfect, obviously. I was pretty careless with all of it, just playing and experimenting and whatnot. The quilting stitches are uneven, and perhaps overdone. I put the sashing together all weird-like. The center of each side sucks in towards the middle, probably since the blocks are on the bias and the sashing is not. Is that why? Let me know if you have any insight.

Oh, and then there's that one block I accidentally trimmed the seam allowance off of. After a bit of cursing I decided to add some pink and call it good. It works for me. I like it. A lot.

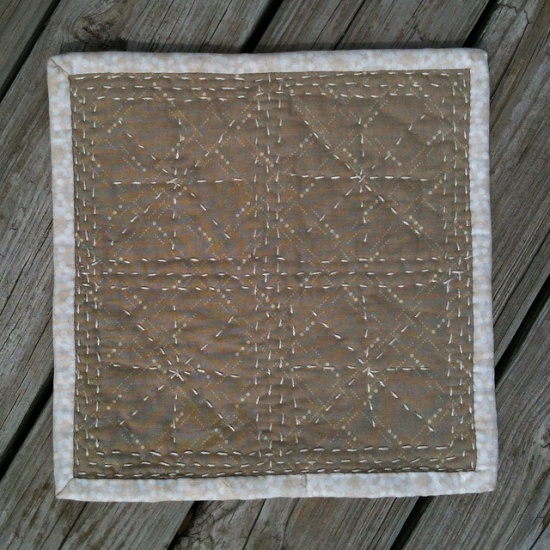
Here's a look at the backside.


So, all in all I think this little guy is cute as a button and worthy of lounging about on my desk at work. Maybe I'll even set a coffee mug on it from time to time :D

Linking up with Megan's {sew} Modern Monday, Jenna's Manic Monday, and Elizabeth's Little Quilt Monday and Quilt Story's Fabric Tuesday.

Wednesday, February 22, 2012

WiP Wednesday - long time no linky

It's been a while since I linked up with Lee for a WiP Wednesday but I’m ready to get back to it. (Even though I'm late to the party...)

Completed:
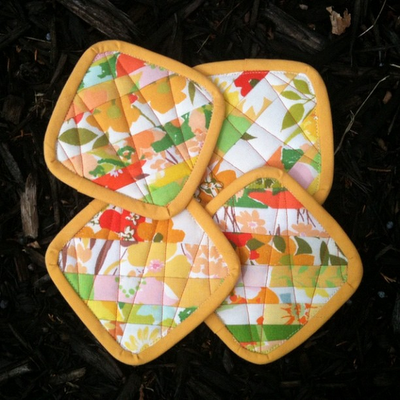
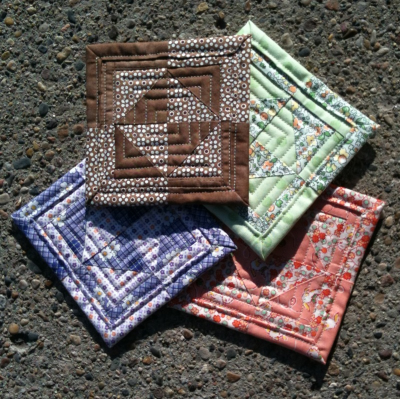
Scrappy sheet coasters – started these way back when I had finished cutting all my pieces for my kaleidoscope quilt, using the scraps. All the fabric is vintage sheet material. Finally put the binding on the other day. It was my first go at bias binding, I just kind of winged it. There are pleated bits around the corners, so I’m pretty sure I did it wrong. But I love them and they’re almost too pretty to set drinks on.
i love these so so so much

Rose Star mini quilt – maybe I’ll enter it in Ellison Lane Quilts’ mini quilt challenge? I dunno.
Jen’s coasters – these little HSTS were made forever ago with no real project in mind, I was simply exploring an alternate method of making them. I wasn't in love with the lack of contrast (only the brown ones really pop) and stashed them away somewhere, never to be seen again... Until Friday morning when I busted them out and made coasters quick before I left to visit my friend Jen in her new apartment. They made a decent housewarming gift. It’s the thought that counts, right?
the brown one looks small, but i swear they were all the same size
Ongoing:

Punctuation quilt – needs binding

Summer Sampler Series quilt – I’m so close to finishing this thing that it’s ridiculous how long I’ve let it sit on my design wall, untouched. All the blocks are bordered in grey, and half of them are quilted. (I'm doing this one QAYG). Maybe I’ll work on it tonight now that I’ve brought it up again.
Across the Sea quilt – Block subunits made and ready for assembly. I bought the fabric with plans to make my mom a quilt for mother’s day… in 2010. I started the ATSQAL thinking I’d have it finished for mother’s day 2011, but didn’t get there. Then I promised it would be finished this year for Christmas. No dice. How long do I have before mother’s day 2012? I'll need to get on that.
Drunkard’s Path quilt – should have been a Christmas gift but I couldn’t get it quilted in time. I started and ripped it out twice and still can’t decide on how quilt it or what color thread to use. I’m paralyzed. I spent SO MUCH TIME piecing and I don’t want to ruin it with bad quilting.
Rose Star blocks – I have two made but no plans on what to do with them.
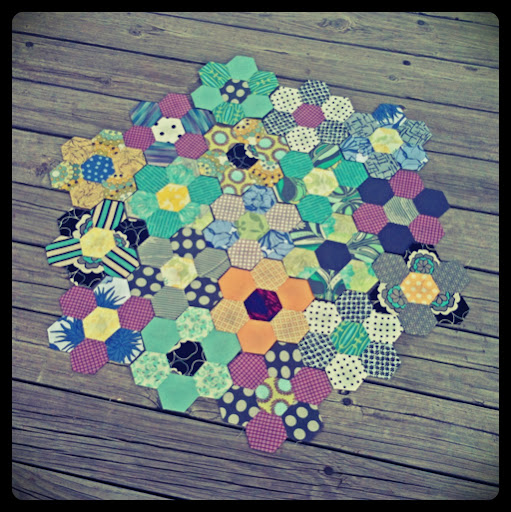
Hexie quilt – 50ish hexie flowers done, seven of which have borders. I haven’t done the math on measurements or set any kind of timeframe, so this will probably be a decade-long project. At best.

Stats:
Completed Projects - 3
New Projects - 0
Ongoing Projects - 6

Yikes. Talk about a reality check.

Monday, January 16, 2012

Hexilicious!

Oh yeah!
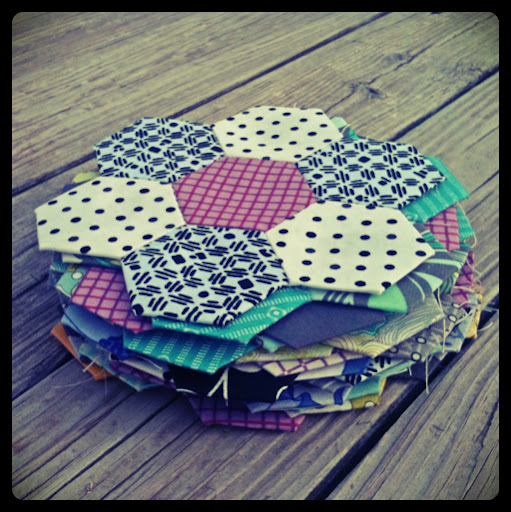
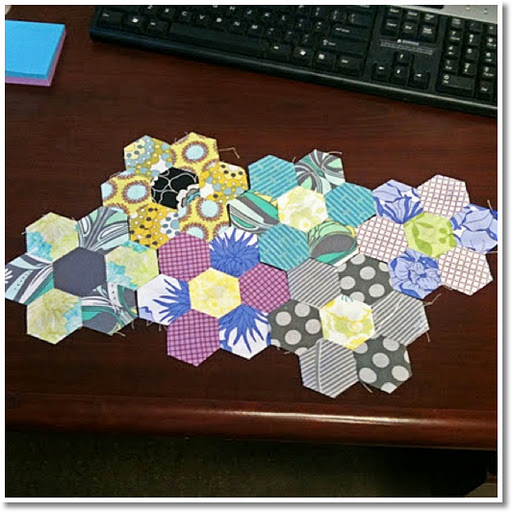
Here's what I have so far and I like how it's shaping up so, so much.
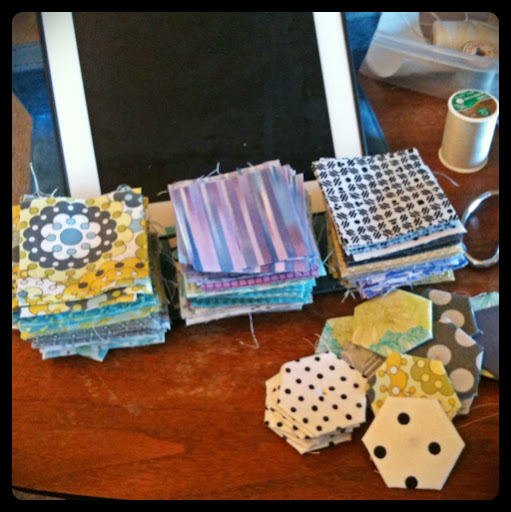
So much that I expanded my fabric picks and acquired quite ambitious stacks of squares.
I'll keep going until I tucker out on hexies, at which point any leftover cuts will be ready to use for some other project down the road.
Linked up at Sew Many Ways and Quilt Story!

Friday, January 13, 2012

Hexie Fever + Scrap Attack

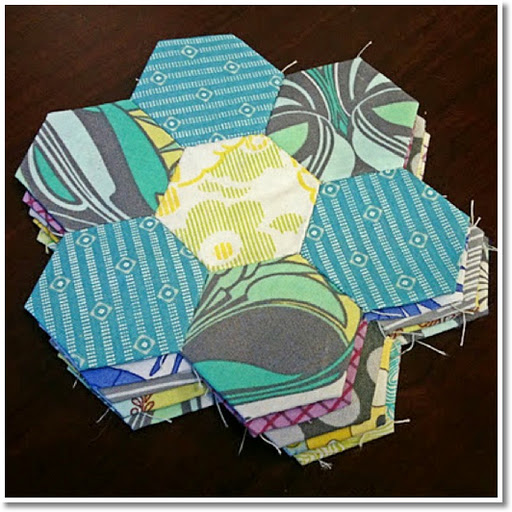
I can add hexies to my list of newly acquired skills. I'm obsessed with these little guys. Now I have something quilty to play with while I'm traveling. Or lounging on the couch. Or whenever I feel like it, which has been any free moment for over a week now.
I dug into my scrap stash and had a whole stack of these flowers made by the time I saw my bloggy pal Elizabeth's post and realized this would be a perfect project for Rachel's scrap attack thingy. What a happy coincidence :D
I like how the only rules are that you use scraps and finish it my March. This gives me complete creative control which works best for me if there is a deadline, lol. We'll see what happens!
Related Posts Plugin for WordPress, Blogger...